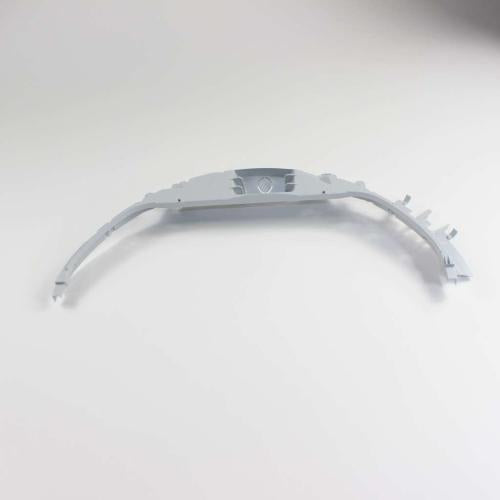
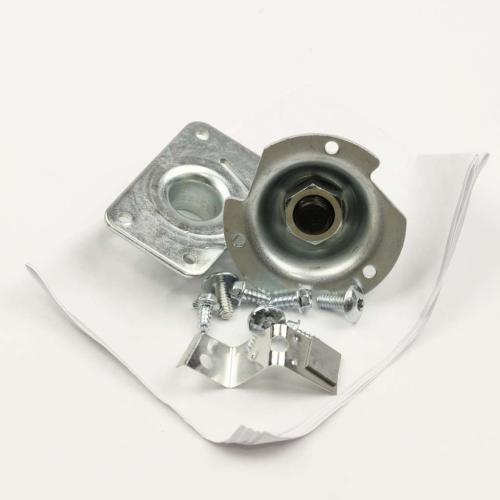
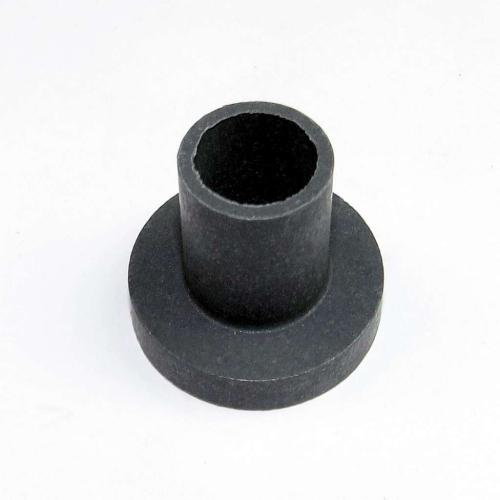
Thumping once per revolution, clothes catching at the drum opening, a loose internal baffle, or a rack that contacts the rotating drum point to different parts within a GE dryer drum and rack repair. A complete drum assembly addresses a damaged drum shell or support surface, while baffles, top bearings, slides, and stationary racks have separate failure checks. Identify the contact point before removing the drum.
Run the empty dryer briefly and record whether the noise follows every revolution, appears only with a load, or begins after the cabinet warms. Disconnect power and rotate the drum by hand. Inspect the seam, rim, baffles, screw heads, front gap, rear support, and any polished track. A coin trapped in the front seal can mimic a cracked baffle, and worn slides can let a sound drum scrape the front support.
A drying rack is an accessory that remains stationary while the drum turns around it. It must sit on its designed supports and be used only with the assigned stationary-drying procedure. A rack that rocks, rubs, or does not clear the drum is the wrong shape, installed incorrectly, or supported by a damaged filter opening or bracket. Do not bend the rack to create clearance because that changes both load support and drum spacing.
Quick inspection sequence
- Remove the load and turn the drum through a full revolution by hand. Mark the point where a thump, scrape, or resistance repeats.
- Check every baffle for movement, cracks around screw bosses, lifted edges, trapped objects, and fasteners protruding into the load space.
- Inspect the front rim, top bearing, slides, felt, rear support, and drum track for grooves, black dust, metal flakes, or an uneven opening gap.
- Use a straight reference across the drum opening to identify a bent rim or distorted shell. Do not mistake a harmless surface scratch for structural damage.
- Fit a drying rack with the dryer empty and disconnected. Confirm every hook and foot seats without touching the drum during hand rotation.
- Check the belt, idler, rollers, motor, and blower when the drum itself turns smoothly. Drive-system noises can travel through the shell.
Match the correct GE dryer drums and rack part
- Match the complete drum or rack part number, overall dimensions, opening direction, rear support interface, front rim, seam, and baffle mounting pattern.
- For baffles, compare length, profile, screw spacing, locating tabs, and the direction of the lifting face. Similar colors do not establish fit.
- For a top bearing or slide, verify the bearing arc, mounting points, slide positions, material, and every mating surface on the drum rim.
- Determine what transfers from the old assembly, including baffles, light shields, felt, bearings, screws, clips, and the moisture-sensor path.
Common problems and repair checks
Why does the GE dryer make a heavy thump once per revolution?
Unload the dryer and rotate the drum slowly to locate a flat, cracked seam, distorted rim, loose baffle, or object stuck to the shell. A thump that remains at the same drum position is different from random load impact. Inspect the support track and front gap before ordering a complete drum. If the shell, seam, or integrated support surface is visibly damaged, the GE dryer drum assembly WE21X24544 must match the drum dimensions, rear connection, and baffle pattern. A new drum will not correct a seized roller or bent support shaft that caused the damage.
Why are clothes snagging near the top of the GE dryer opening?
Stop using the dryer if fabric can enter the front gap. Worn slides, a cracked top bearing, displaced felt, or a sharp drum rim can expose an edge that catches clothing. Examine the complete bearing arc and look for dark wear dust or missing slide material. The GE dryer top bearing WE14M124 supports specified front-opening designs and requires the correct slide arrangement. Inspect the drum rim before installation because a groove or burr can quickly damage the new bearing and continue marking garments.
Why is a baffle loose inside the GE dryer drum?
A baffle can loosen when its screw backs out, a molded boss cracks, the drum hole enlarges, or an object repeatedly strikes it. Disconnect power and access the fasteners from the proper side rather than tightening through the load opening with the drum unsupported. If the mounting bosses or lifting surface are cracked, replace the baffle with the GE dryer drum baffle WE14X20683. Confirm the screw length and locating tabs. An overlong or cross-threaded fastener can damage the drum or protrude far enough to snag clothing.
Why does a GE dryer drying rack rub while the drum turns?
Remove the rack and inspect its feet, hooks, bends, and attachment point. The rack should remain stationary with clearance around the rotating drum. Contact can result from the wrong rack, a bent frame, incorrect seating, a damaged lint-filter support, or drum alignment trouble. The GE dryer drying rack WE01X25160 is designed for defined rack supports and stationary drying. Install it only in the specified position, use the assigned timed cycle, and do not combine it with tumbling clothes. Rotate the drum by hand before applying power.
Why does the GE dryer drum scrape after a support repair?
Recheck the transferred hardware, bearing slides, felt position, drum seating, belt route, and front-panel alignment. A drum can sit on the wrong side of a support lip or a slide can be installed in the wrong slot. Loosen the front assembly, support the drum, and center the rim before retightening. If inspection reveals that the old shell has a distorted front edge or damaged support surface, compare it with the GE dryer drum assembly WE21X20564. Do not force the cabinet closed against a drum that cannot turn freely by hand.
Why does the GE dryer tumble unevenly with a normal load?
Check whether a baffle is missing, loose, or installed in the wrong orientation, then inspect the drum for out-of-round movement and the support system for unequal height. Loads need to lift and fall instead of sliding as one mass. A damaged lifting surface may justify the GE dryer drum baffle WE14X21615, provided its profile and fastener pattern match the original position. If every baffle is secure, isolate rollers, slides, belt tension, and cabinet level before replacing the drum itself.
Symptom and decision guide
|
Observed symptom
|
Check before ordering
|
Repair direction
|
|
Timed thump at one drum position
|
Seam, rim, shell, baffle, support track
|
Mark the repeat point and inspect the shell
|
|
Fabric catches at front opening
|
Top bearing, slides, felt, sharp rim
|
Stop use until the gap and edge are restored
|
|
Rack touches rotating drum
|
Rack identity, seating points, drum alignment
|
Remove rack and verify stationary clearance
|
|
Uneven tumbling
|
Baffles, cabinet level, supports, belt tension
|
Correct the confirmed lifting or support fault
|
Related GE dryer part categories
When a drum is sound but the front support is worn, compare the GE dryer wheel, roller, and bearing collection. Slides, bearings, rollers, and shafts determine the drum path.
If the drum is difficult to turn or the drive slips, inspect the GE dryer belt collection. Belt routing and idler tension can create noise that seems to come from the drum shell.
When lint, a trapped object, or a damaged filter opening interferes with rack seating, review the GE dryer filter collection. The rack support and filter path must both remain unobstructed.
Installation and safety
- Disconnect power, remove the load, protect the finish, and photograph the belt route, baffles, sensor wiring, bearing pieces, and drum supports.
- Support the drum throughout removal. Release belt tension by the specified method and keep the drum rim from resting on wiring or sharp cabinet edges.
- Transfer approved components in their original positions. Tighten baffles evenly, seat bearings and felt without folds, and restore all sensor and ground connections.
- Rotate the drum several turns by hand, check the opening gap and rack clearance, then run a short empty test from startup through coast-down.
Before-ordering checklist
|
Verify
|
What must match
|
|
Part role
|
Complete drum, baffle, top bearing, slide, sleeve, support kit, or stationary drying rack
|
|
Geometry
|
Diameter, depth, rim, seam, rear support, baffle holes, rack hooks, feet, and clearance
|
|
Mating parts
|
Rollers, slides, felt, belt, sensor path, front panel, fasteners, and drum track
|
|
Final movement
|
Free hand rotation, even opening gap, secure baffles, stationary rack, and no repeating contact
|