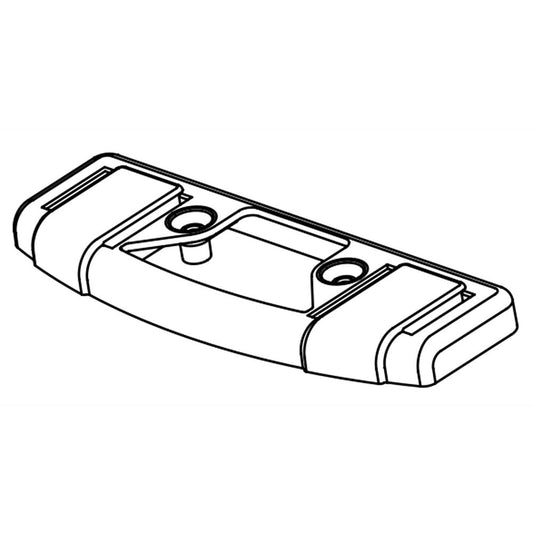
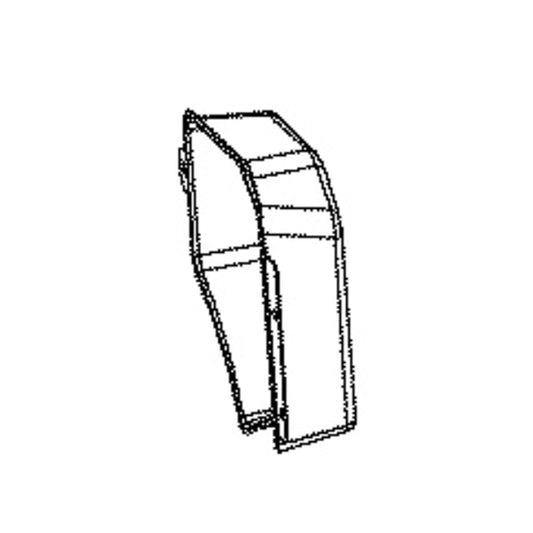
A GE dryer cap or cover may protect a steam nozzle, terminal connection, control opening, service access point, harness, cabinet edge, or unfinished hole. These parts can look cosmetic while performing an important spacing, shielding, strain-relief, or airflow function. Identify what sits behind the missing piece before operating the dryer. An exposed electrical connection, open hot-air path, reachable moving part, or sharp cabinet opening requires the dryer to remain disconnected until the correct cover is restored.
Determine whether the original failure is a cracked cap, broken retaining tab, stripped screw boss, damaged mating panel, or an assembly installed out of sequence. A cover that repeatedly falls off may be serviceable while its clip, bracket, grommet, or panel slot is not. Collect every loose fragment and compare it with the parts diagram so a hidden insert or spacer is not discarded. Photograph the finish, orientation mark, screw type, ground wire, foam, and nearby hose or harness before removal.
Do not choose a cap from color and approximate dimensions alone. Two pieces may share the same outside profile while differing in depth, heat resistance, terminal clearance, latch position, or screw location. A top or rear cabinet cover must also sit flush so it does not vibrate or pinch wiring. A small nozzle cover must align with the nozzle and retainer without blocking flow. Use the complete part number and the protected component as the primary match.
Quick inspection sequence
- Disconnect power and identify the opening the cap or cover closes. Determine whether electricity, heat, moving parts, steam, or exhaust air is present behind it.
- Inspect the cover for cracks, heat distortion, rubbed areas, missing insulation, bent flanges, broken tabs, stripped bosses, and incorrect screws.
- Examine the mating panel, retainer, bracket, hinge, clip, and wire route. The cover may be the visible casualty rather than the cause.
- Check for discoloration, arcing residue, melted insulation, water tracks, or lint accumulation behind the cover before installing a new piece.
- Compare nearby cabinet gaps. A shifted top, rear, or side panel can prevent a correct cover from seating and can produce repeated vibration.
- Record all transferred items, including foam pads, labels, ground leads, bushings, cable restraints, screws, and cosmetic inserts.
Match the correct GE dryer cap and cover part part
- Match the full part number, protected component, exact cabinet location, handed orientation, material, heat rating, color, and surface texture.
- Compare every tab, hook, slot, screw boss, opening, flange, and recessed channel on both the original cover and the mating surface.
- Confirm whether the replacement includes its retainer, fasteners, insulation, seal, label, or ground provision. Never assume these pieces transfer automatically.
- For a cabinet cover, verify overall dimensions and edge folds. For a small cap, verify insertion depth and clearance around the nozzle, terminal, or control shaft.
Common problems and repair checks
Why does the GE dryer steam-nozzle cover keep coming loose?
Disconnect power and let the dryer cool before inspecting the nozzle area. Check the cap tabs, separate retainer, nozzle alignment, hose support, and panel opening. A hose pulling sideways can move the nozzle enough that a sound cap will not lock. Mineral deposits or detergent residue can also prevent full seating. The GE dryer cap and cover part WE01X10396 is identified as a nozzle cover in an applicable dryer assembly, so confirm that the nozzle, retainer, and opening match before installation. Replace a cracked retainer at the same time when its latch surface no longer holds. Do not glue the cap in place because adhesive can block the nozzle, hide a leak, or make later service unsafe. Test the steam function for leakage only after the cabinet is restored.
Why does a GE dryer cabinet cover vibrate during tumbling?
An uneven appliance, loose fastener, missing foam pad, bent flange, or shifted panel can transmit normal drum movement into a loud cover buzz. With power disconnected, press gently at different edges to locate the free span, then inspect every mounting point rather than adding random screws. Check that no harness, duct, or hose is trapped between the cover and frame. Match the GE dryer cap and cover part WE20X20417 by part number, dimensions, edge folds, finish, and intended cabinet position. Straightening a sharply creased structural edge may leave the part unable to hold alignment. After installation, level the dryer, rotate the drum by hand, and run an empty test before deciding that an internal bearing or blower is the noise source.
Why is there heat discoloration behind a GE dryer terminal or service cover?
Leave the dryer disconnected. Heat marks around a terminal cover can indicate a loose electrical connection, damaged cord, overheated terminal block, incorrect strain relief, or wire insulation pressed against a hot surface. The cover is not the cause merely because it is discolored. Have the electrical connection and conductor condition evaluated before enclosing it again. If the original cap is warped or its insulating clearance is compromised, compare it with the GE dryer cap and cover part WE13X33128 using the complete part number, mounting shape, and protected connection. Do not sand away carbon tracking or reuse melted hardware. Restore the correct strain relief, grounding arrangement, and fasteners, then verify that the cover sits without touching live terminals or pinching the supply cord.
Why will the replacement GE dryer cap or cover not sit flush?
Remove the replacement without forcing it. Compare tab order, handed orientation, screw length, foam placement, transferred inserts, and the depth of the component behind the opening. One tab may need to enter a slot before the opposite edge pivots into place. A bent mating panel or an incorrect part can leave a consistent gap, while a pinched wire creates a localized high spot. Check the GE dryer cap and cover part WE49X22294 against the original part number and all hidden geometry, not only the visible face. Never pull a cover flat with an over-tightened screw; that can crack the boss, cut wiring, or distort an airflow seal. Correct the obstruction, then tighten fasteners evenly and confirm the cabinet remains square.
Symptom and decision guide
|
Observed symptom
|
Check before ordering
|
Repair direction
|
|
Small cap will not latch
|
Retainer, tab, nozzle alignment, deposits
|
Repair the holding surface, not with adhesive
|
|
Large cover buzzes
|
Fasteners, foam, cabinet square, trapped harness
|
Restore support and confirm appliance level
|
|
Cover is heat-marked
|
Terminal, wire, strain relief, heat source
|
Correct the electrical fault before enclosure
|
|
Replacement leaves a gap
|
Part identity, tab sequence, obstruction, panel damage
|
Do not force or pull flat with screws
|
Related GE part categories
If the cap is intact but its screw, clip, or retainer has failed, review the GE dryer hardware, fasteners, and bracket collection. Match thread, length, head style, and heat clearance.
When a large exterior cover cannot align because the cabinet is bent, compare the GE dryer panel collection. The supporting panel must be square before a new cap can seat correctly.
If discoloration or melting is present behind a control-area cover, inspect the GE dryer wire harness collection. Repair damaged conductors and terminals before closing the service area.
Installation and safety
- Disconnect power, allow hot surfaces to cool, and keep the dryer out of service when the missing cover exposes wiring, heat, airflow, or moving parts.
- Photograph orientation and transferred hardware. Correct the damaged clip, bracket, panel, terminal, hose, or wire route that caused the original cover to fail.
- Engage tabs in the designed sequence, restore insulation and grounds, and tighten the specified fasteners evenly without distorting the cover.
- Confirm a flush fit, protected wiring, clear airflow, and no rubbing. Run a short empty cycle and recheck the cover after vibration and heat are introduced.
Before-ordering checklist
|
Verify
|
What must match
|
|
Protected area
|
Nozzle, terminal, control opening, harness, access point, cabinet edge, or airflow passage
|
|
Exact identity
|
Full part number, cabinet position, orientation, dimensions, material, color, texture, and heat exposure
|
|
Attachment
|
Tabs, slots, clips, bosses, screws, retainers, foam, insulation, labels, and grounding points
|
|
Cause corrected
|
No loose terminal, pinched wire, shifted panel, leaking hose, bent flange, or unresolved vibration
|